The Easiest Way to Learn Safe Peptide Mixing Steps
Disclaimer: The information provided in this article is for educational and informational purposes only. It is not intended as medical advice, diagnosis, or treatment. Products and compounds referenced are for research use only and are not approved for human or veterinary consumption. Always consult a qualified professional regarding health or medical decisions.
For safe peptide mixing in laboratory research, start with a disinfected workspace, confirm vial labels and concentration targets, and select the correct sterile diluent before opening any seal. Add liquid slowly down the inner vial wall rather than onto the powder, control vacuum pull with steady plunger pressure, and swirl gently until the solution is fully clear. Balance vial pressure before withdrawing liquid, inspect for haze or particles, and keep reconstituted research solutions refrigerated at 2-8°C unless a validated protocol specifies otherwise. Never shake peptide vials, preload plastic syringes for storage, or combine compounds unless compatibility is confirmed.
Core Peptide Mixing Instructions for Laboratory Research
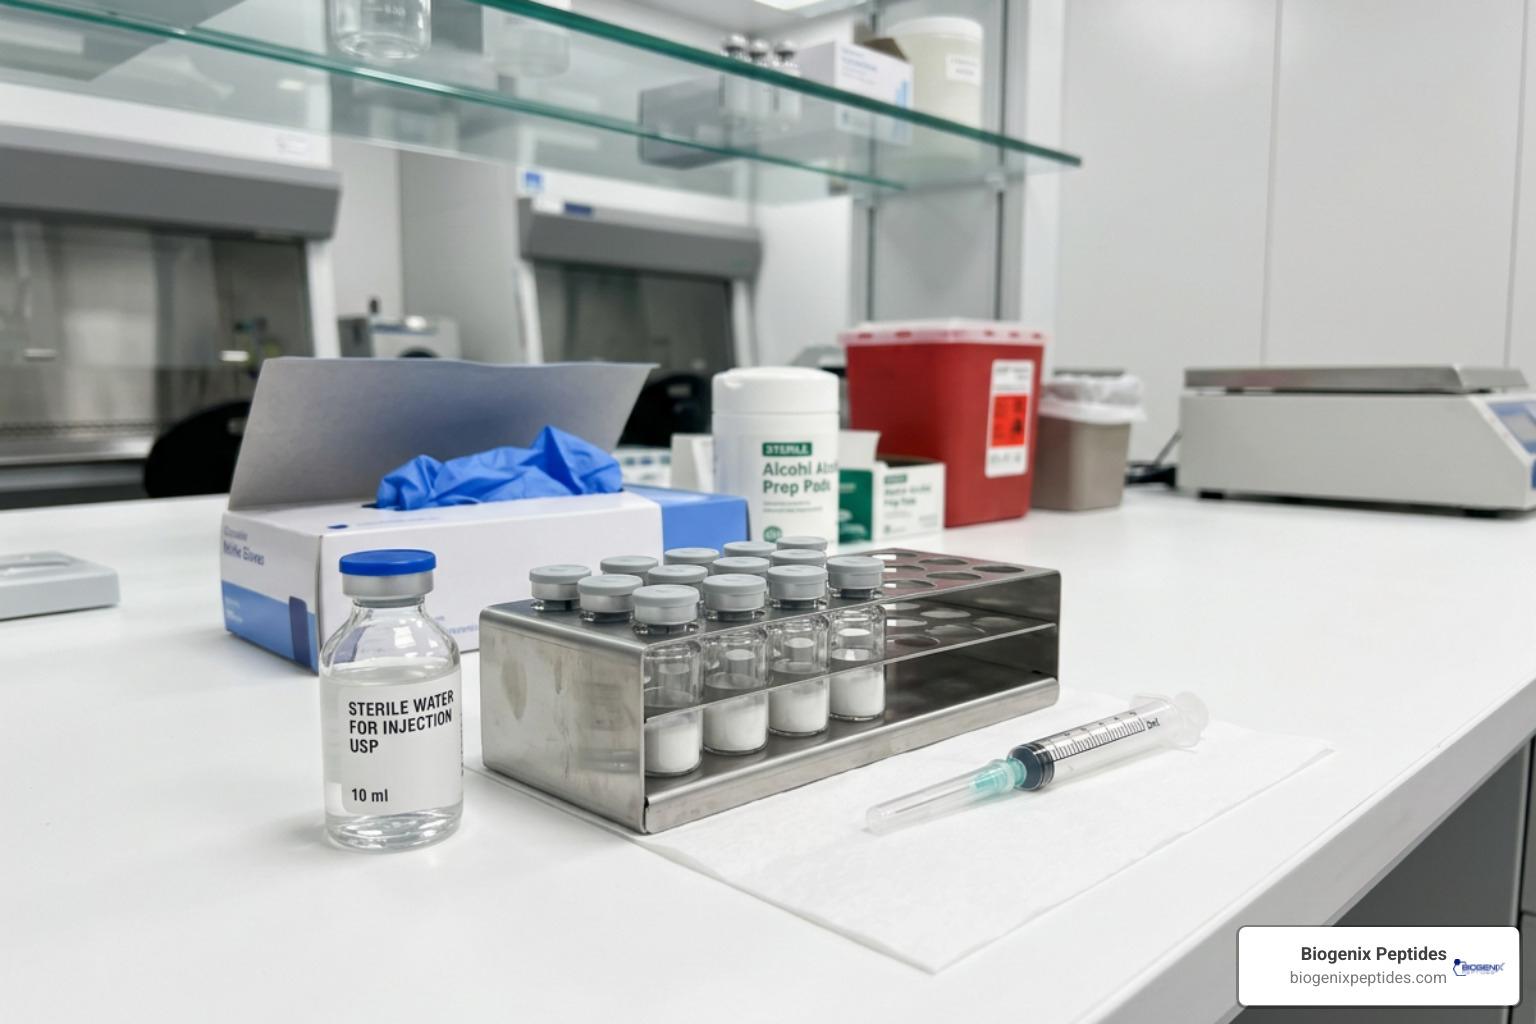
Handling delicate amino acid chains requires methodical laboratory technique and adherence to precise experimental protocols. Peptides are held together by fragile peptide bonds that easily shear under physical force, excessive heat, or direct exposure to environmental contaminants. Establishing a sterile research environment represents the baseline requirement before opening any vial seal or preparing reagents. Working within a laminar flow hood or a thoroughly disinfected workspace with 70% isopropyl alcohol minimizes airborne microbial exposure and protects compound integrity during handling.
When reconstituting freeze-dried compounds, researchers must avoid direct liquid impact onto the lyophilized powder cake. Direct high-velocity impact can physically fracture tertiary protein structures or cause localized insolubility. Instead, aim the needle tip against the inner glass wall of the vial so the solvent slides smoothly down the side in a laminar stream. Once the diluent enters the chamber, never shake the glass container. Aggressive agitation causes foaming, shear stress, and structural degradation of molecular chains. Instead, gently swirl the solution between your fingers in slow, deliberate circles until the solid dissolves completely into a clear liquid.
Reconstitution Diluent Rules and Peptide Mixing Instructions
Choosing the correct reconstitution liquid directly dictates solution viability and experimental repeatability. For multi-entry research vials, bacteriostatic water containing 0.9% benzyl alcohol serves as the standard diluent because the bacteriostatic agent suppresses microbial proliferation across repeated container access. Conversely, single-use sterile water lacks preservatives, making it unsuitable for protocols spanning several days due to rapid bacterial growth risks in aqueous media.
Calculating dilution parameters correctly ensures precise volumetric concentrations across all test batches. Understanding the science of the bacteriostatic water peptide ratio allows researchers to determine exact liquid volumes per milligram of lyophilized solid. Standardizing these ratios eliminates variability across separate experimental trials. Researchers frequently consult a digital Peptide Research Calculator or follow an external guide on How to Reconstitute Peptides: Step-by-Step to prevent mathematical errors during stock preparation and concentration calculations.
Managing Vial Pressure Balance and Vacuum Dynamics
Lyophilized vials arrive from manufacturing facilities sealed under negative pressure (vacuum). When introducing reconstitution liquid, this vacuum pulls the diluent rapidly from the barrel if not manually controlled. Always maintain firm thumb control on the plunger to prevent solvent from slamming forcefully into the lyophilized cake.
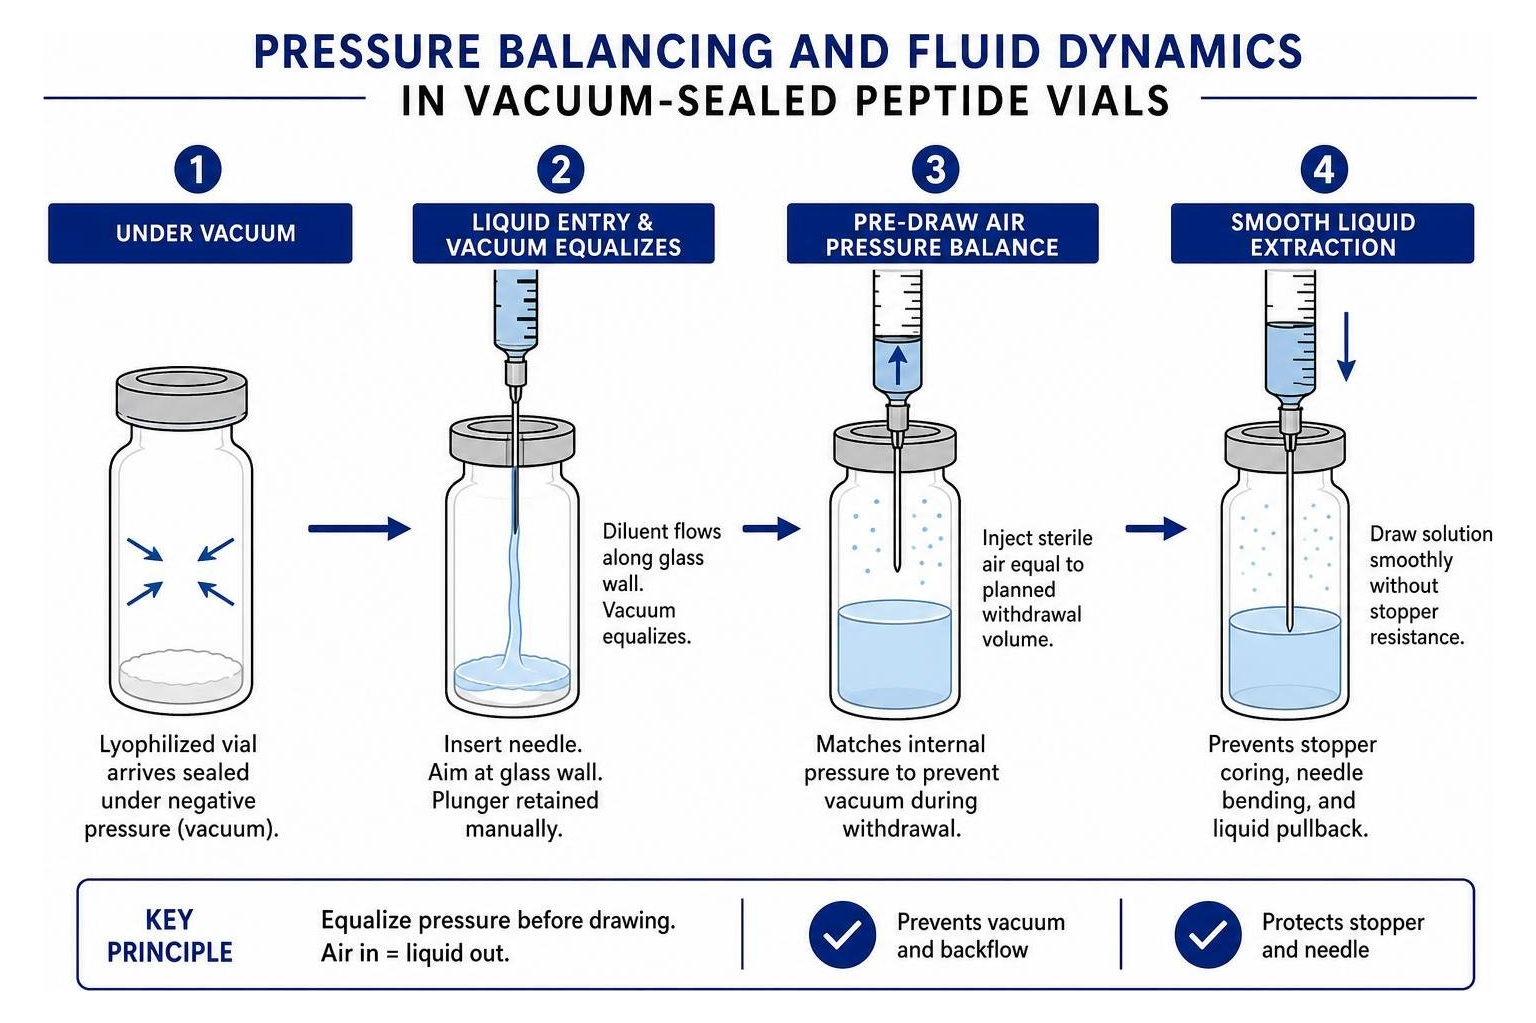
Before drawing reconstituted solution for research trials, balance the internal pressure within the container. If you attempt to draw liquid from a sealed vial without adding air displacement, a strong vacuum forms, pulling liquid back into the container, creating micro-bubbles, and potentially bending thin needle tips. Introduce an exact volume of sterile ambient air equal to the planned liquid withdrawal volume directly into the headspace before drawing. This equalizes atmospheric differential, prevents rubber stopper coring, and eliminates mechanical resistance during volumetric extraction.
Combining Multiple Peptides in a Single Syringe
Combining compatible compounds into a single barrel reduces laboratory consumable waste and minimizes fluid handling steps during multi-compound experimental protocols. However, this workflow demands strict sequential handling to prevent cross-contaminating stock containers.
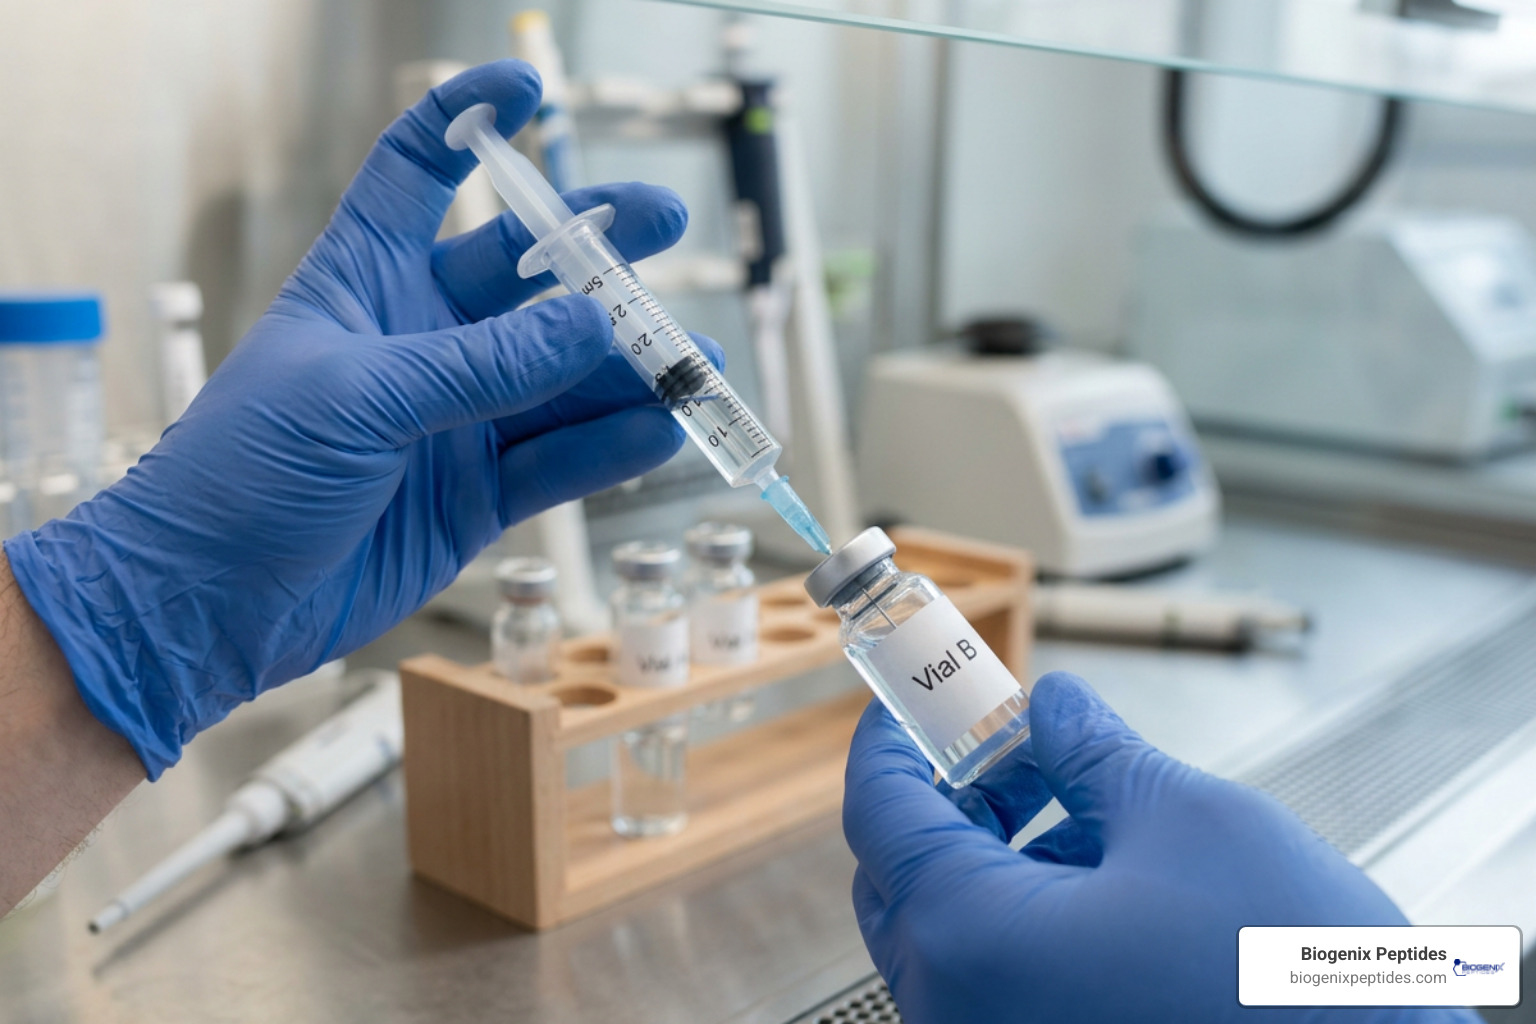
When drawing two separate compounds into one syringe:
- Equalize air pressure in Vial A and Vial B by introducing appropriate air volumes into both headspaces first.
- Insert the needle into Vial A, invert, and draw the designated volume of the first compound.
- Remove the needle without touching the plunger, then insert it cleanly into Vial B.
- Carefully draw the second compound into the barrel, ensuring zero backflow from the syringe into stock Vial B.
Essential Peptide Mixing Instructions for Multi-Compound Blending
Not all compounds can coexist within the same fluid suspension. Evaluating chemical compatibility, solvent parameters, and molecular charge profiles is mandatory before combining solutions. Reviewing research on specialized peptide blends provides insight into which compounds demonstrate stability when blended together.
Certain regenerative research compounds, such as BPC-157 and TB-500, exhibit neutral isoelectric interactions and can typically be combined in the same barrel immediately prior to laboratory application. Conversely, compounds requiring distinct pH environments—such as acidic formulations mixed with neutral buffers—must remain completely separate to prevent instantaneous precipitation, covalent cross-linking, or accelerated hydrolytic breakdown.
Why Preloaded Syringes Must Be Avoided
Drawing solutions into plastic syringes hours or days in advance compromises experimental integrity. Standard laboratory syringes contain medical-grade silicone oil lubricants along the rubber plunger head. Over extended contact periods, peptide solutions can strip these lubricants, leading to chemical contamination and accelerated peptide aggregation.
Furthermore, polypropylene barrels are slightly gas-permeable compared to borosilicate glass vials, leading to oxidative degradation, loss of vacuum integrity, and solvent evaporation over time. Syringe combinations must be prepared immediately before running an experimental trial and never stored for future application.
Identifying Incompatibility and Preventing Peptide Denaturation
Physical changes within a mixed solution signal immediate molecular failure. Optical clarity remains the primary benchmark: a viable peptide solution appears crystal-clear and indistinguishable from pure water. Cloudiness, haze, particulate sedimentation, or color shifts indicate that the amino acid chains have aggregated, precipitated, or undergone chemical cleavage.
Researchers focused on stopping peptide denaturation should routinely inspect solutions under direct illumination against an alternating black-and-white background to spot micro-particulates before introducing solutions to assay models.
| Solution Metric | Stable / Viable Solution | Degraded / Incompatible Solution |
|---|---|---|
| Optical Clarity | Transparent, water-clear | Hazy, milky, or cloudy |
| Particulate Matter | Zero visible solids or flakes | Floating strands, sediment, or flocculation |
| Color Profile | Purely colorless | Yellowing, pinkish tint, or amber hue |
| Fluid Resistance | Smooth, consistent fluid draw | Foaming, bubbling, or high barrel drag |
| Molecular Integrity | Monomeric structure intact | Aggregated fibrils or fragmented chains |
Factors accelerating denaturation include thermal exposure above 8°C for reconstituted liquids, excessive shear forces from shaking, exposure to direct ultraviolet radiation, and improper pH levels in non-buffered diluents. Maintaining rigorous visual checks ensures only structurally sound solutions are utilized in analytical procedures.
Post-Reconstitution Handling and Cold Storage Protocols
Thermal management governs the decay curve of all peptide materials. In their dry, lyophilized state, powdered peptides maintain stability for up to two years when maintained in cold, dark storage protected from moisture infiltration. However, once reconstituted into an aqueous environment, hydrolysis begins breaking down molecular structures.
Reconstituted research solutions must be stored at 2–8°C (36–46°F) and typically retain full experimental viability for approximately 28 days. While some robust compounds remain viable for 3 to 6 months when refrigerated, thermal fluctuations accelerate potency loss and encourage chemical dissociation. Reconstituted aqueous peptides should never be frozen and thawed repeatedly, as ice crystal formation shears peptide backbones and causes irreversible aggregation. Keeping careful research logs helps track how long reconstituted peptides last across different experimental series.
Frequently Asked Questions about Peptide Mixing
How do researchers confirm a peptide is properly dissolved?
Proper dissolution is confirmed through optical inspection. Hold the vial against a clean light source; the liquid must be entirely clear without floating strands, gelatinous clumps, or cloudiness. If particles remain, allow the vial to rest undisturbed in the refrigerator for 10–15 minutes, followed by a gentle swirl to complete solute dispersion.
What causes application site irritation during peptide research?
Localized reactivity in laboratory models typically stems from cold thermal shock, localized histamine response, or rapid fluid displacement. Bringing solutions to ambient room temperature for no more than 15–20 minutes prior to application and administering fluids slowly significantly reduces tissue disruption.
How long does a reconstituted peptide vial remain viable?
A reconstituted vial stored continuously at 2–8°C maintains experimental viability for roughly 28 days. After this window, progressive peptide bond hydrolysis reduces effective concentration, even if the solution remains visually clear.
Conclusion
Mastering peptide reconstitution and multi-compound handling demands rigorous attention to sterile workflows, accurate diluent ratios, vacuum equalization, and cold-chain compliance. Understanding fluid mechanics and compound compatibility protects delicate molecular structures from premature degradation, ensuring precise and reproducible scientific data.
For laboratory professionals seeking deeper practical protocols on fluid handling, explore our full reference guide on mixing peptides like a pro to elevate your laboratory standards and experimental consistency.